
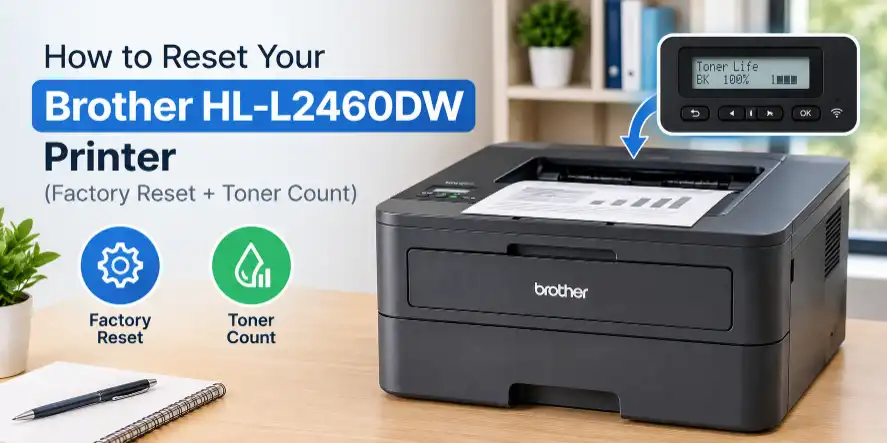
If your Brother HL-L2460DW has started acting weird, maybe the Wi-Fi won’t connect or it’s throwing random errors, a reset usually sorts it out. And if it’s refusing to print because it says the toner needs replacing, even though you know there’s still some left, I’ve got a fix for that too. Both take just a couple of minutes, so let’s get into it.
How to Factory Reset Your Brother HL-L2460DW
This is the one to try first if you’re dealing with Wi-Fi problems, connection drops, or settings that seem messed up. Fair warning: it wipes your custom settings and returns everything to factory defaults, so you’ll need to set up your Wi-Fi again afterwards.
Here’s how it goes:
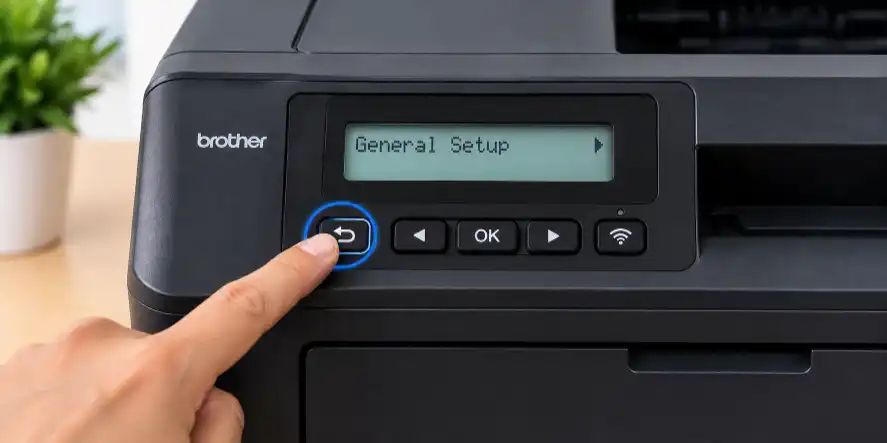
1. Press the Back button once. You’ll see General Setup on the screen.
2. Use the arrow buttons to scroll until you see Printer, then press OK.
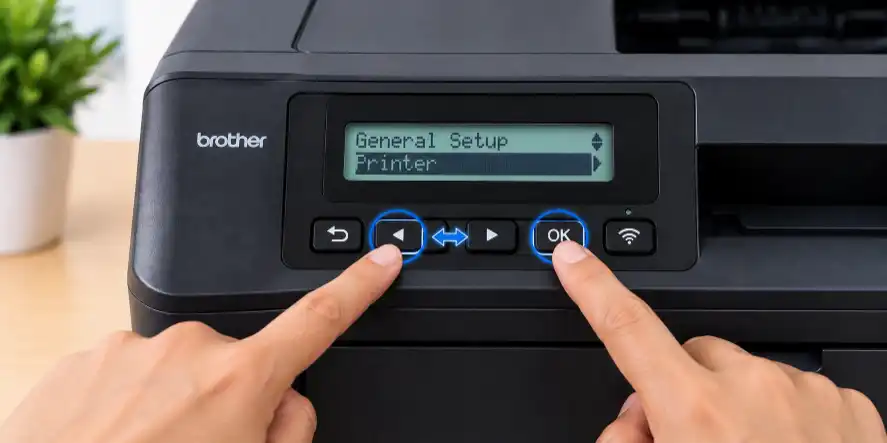
3. Keep tapping the arrows to shuffle through the options until you land on Reset Printer, then press OK.
4. Press the down arrow once to confirm.
5. Wait a few seconds. The screen will show Default Settings, and that’s it. Your printer is reset.
That’s honestly all there is to it. No tools, no computer needed. After the reset, reconnect it to your Wi-Fi network and test it with a print. In my experience, most connection weirdness disappears after this, because the printer was usually just holding onto a bad setting or a stuck network configuration.
If the problem keeps coming back after a reset, it’s worth checking that your router firmware is up to date and that the printer is within a reasonable range of the router. And if nothing helps, Brother’s help site has the latest drivers and firmware for the HL-L2460DW.
How to Reset the Toner Count on the HL-L2460DW
Now for the one a lot of people are actually searching for. Your printer says “Replace Toner” and refuses to print, but you’ve looked at the cartridge and you know there’s still toner in there. Annoying, right? Printers count pages rather than actually measuring toner, so they often lock you out while there’s still plenty left. Resetting the count lets you keep printing until the cartridge is genuinely empty.
Here’s the process. Follow the order carefully:
- Turn the printer off.
- Open the front door where the toner cartridge sits, and leave it open until the last step.
- Look at the control panel. Press and hold the Go button, then press and hold the Power button for about 2 seconds to turn the printer on.
- Release the Power button, but keep your finger on Go for another 3 seconds, then let go.
- The display should show Users Mode.
- Press Go 10 times, then pause for about 5 seconds.
- Now press Go 5 times.
- You’ll see something appear on the screen. Wait about 2 seconds and the toner count has been reset.
- Close the front door, wait a few seconds, and you’re ready to print.
Tip: when you’re holding both buttons, using two fingers is much easier than trying to juggle it with one hand. If it doesn’t work the first time, don’t stress. Power off and try again, since the most common mistake is miscounting the presses or rushing the pause.
I’m a big fan of this trick because replacing a cartridge that still has toner in it feels like a total waste. Resetting the count lets you squeeze out the rest of that cartridge, which saves you money. Just keep in mind that once it really runs out, you’ll notice faded or streaky prints, and that’s your sign it’s time for a new one.
When Should You Reset Which One?
Quick cheat sheet so you don’t mix them up:
- Wi-Fi issues, error messages, odd behavior: do the factory reset.
- “Replace Toner” message but the cartridge isn’t empty: do the toner count reset.
- Prints coming out pale, streaky, or blank: the toner is probably really empty, so swap it.
Also worth knowing: a factory reset won’t fix a toner message, and a toner reset won’t fix Wi-Fi problems. They’re two separate fixes for two different headaches.
Wrapping Up
So that’s both resets for the Brother HL-L2460DW, and neither one should take more than a few minutes. Start with the factory reset if you’re having connection or setting issues, and use the toner count reset when the printer is being overly dramatic about a cartridge that still has life in it.
Hopefully that saved you a trip to the store, or at least a few bucks. If you run into trouble, drop a comment and tell me which step tripped you up, and I’ll help you sort it out.